In today’s digital age, enhancing your photos has never been more accessible. Whether you’re a professional photographer or an avid social media user, understanding the basics of photo editing can significantly improve the quality of your images.
With the right photo editing tips, you can transform your ordinary snapshots into stunning visuals. This guide will walk you through the fundamental steps of how to edit photos effectively, covering essential techniques and tools to get you started.
Key Takeaways
- Understand the basics of photo editing and its importance.
- Learn essential techniques for enhancing your images.
- Discover the right tools for effective photo editing.
- Get started with simple steps to improve your photo quality.
- Transform your ordinary photos into stunning visuals.
Understanding the Fundamentals of Photo Editing
Photo editing is more than just tweaking images; it’s about bringing your creative vision to life. As photo editing tips and techniques continue to evolve, understanding the basics is essential for anyone looking to enhance their photos.
What is Photo Editing?
Photo editing refers to the process of altering or enhancing digital images to achieve a desired aesthetic or to correct flaws. This can range from simple adjustments like brightness and contrast to more complex manipulations like removing objects or changing the composition entirely.
Difference Between Enhancement and Manipulation
While enhancement involves improving the image without altering its fundamental content, manipulation involves making significant changes that can alter the image’s original message or intent. As noted by photography expert, “The line between enhancement and manipulation is often blurred, and it depends on the context and intent of the edit.”
“The goal of editing is to enhance the image while staying true to its original essence.”
Why Photo Editing Skills Matter
Having good photo editing skills can significantly impact the quality of your photos, turning good shots into great ones. In today’s digital age, where visual content is paramount, being able to edit photos effectively is a valuable skill.
From Good to Great: The Impact of Editing
Editing can transform a good photo into a stunning one by adjusting exposure, contrast, and color balance, among other factors. Using the best photo editing software can make this process easier and more efficient.
Setting Realistic Expectations
It’s essential to understand what photo editing can and cannot do. While editing can greatly enhance a photo, it has its limitations.
Common Misconceptions About Photo Editing
One common misconception is that photo editing can fix any poorly taken photo. However, while editing can improve an image, it can’t miraculously turn a badly shot photo into a great one. Understanding these limitations is key to achieving realistic results.
Essential Photo Editing Tools and Software
The best photo editing software for you depends on your specific editing requirements and skill level. With a myriad of options available, understanding the strengths of each can help you make an informed decision.
Professional Software Options
For professionals, software like Adobe Photoshop and Lightroom is often the go-to choice. These tools offer advanced features such as layers, masking, and RAW image processing.
Adobe Photoshop and Lightroom
Adobe Photoshop is renowned for its powerful editing capabilities, while Lightroom excels in organizing and enhancing large collections of photos. Together, they form a comprehensive editing suite.
Capture One and Affinity Photo
Capture One is praised for its tethered shooting capabilities and color grading tools, whereas Affinity Photo offers a professional-grade editing experience at a more affordable price point than Adobe Photoshop.
Budget-Friendly Alternatives
Not everyone needs the advanced features of professional software. For those on a budget, alternatives like GIMP and Darktable offer robust editing tools without the hefty price tag.
GIMP and Darktable
GIMP is a versatile editor with a wide range of plugins and tools, while Darktable is specifically designed for RAW image processing and offers a non-destructive editing workflow.
Luminar and ON1 Photo RAW
Luminar is known for its AI-powered editing features, making complex edits simpler. ON1 Photo RAW offers a comprehensive set of editing tools, including layers and effects.
Mobile Editing Apps
For on-the-go editing, mobile apps like Snapseed and Lightroom Mobile offer powerful editing capabilities directly from your smartphone.
Snapseed and Lightroom Mobile
Snapseed is celebrated for its detailed editing tools and filters, while Lightroom Mobile syncs seamlessly with its desktop counterpart, allowing for a continuous editing experience across devices.
VSCO and Afterlight
VSCO is popular for its film-inspired presets, adding a unique aesthetic to your photos. Afterlight offers a range of filters and textures to enhance your images.
By understanding the different types of photo editing software available, you can choose the best tool for your needs, whether you’re a professional or an enthusiast.
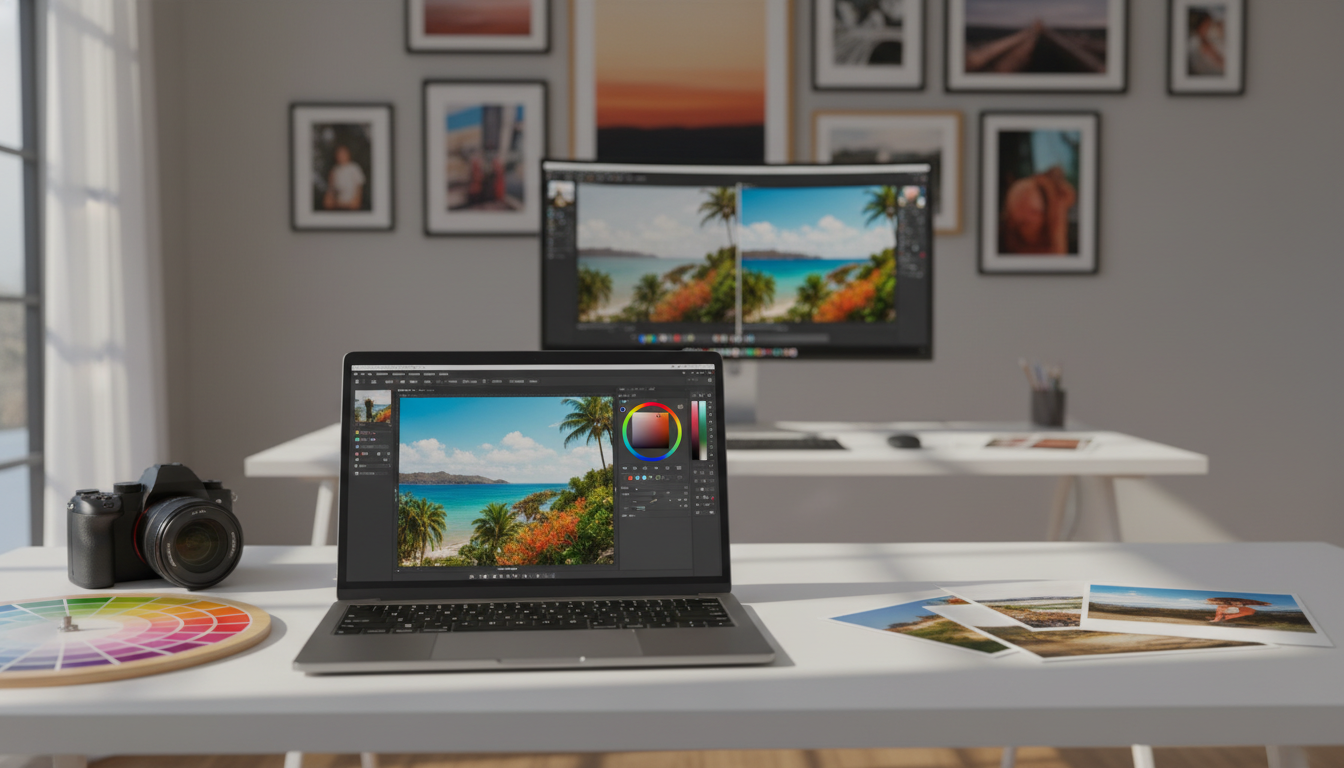
Setting Up Your Editing Workspace
A well-organized editing environment is the foundation of a successful photo editing workflow. To get started, it’s essential to focus on a few key areas that will enhance your editing experience.
Hardware Requirements
Having the right hardware is crucial for smooth photo editing. Your computer is the backbone of your editing workspace.
Computer Specifications for Smooth Editing
A computer with a strong processor, ample RAM, and sufficient storage is necessary. For instance, Adobe recommends at least 8GB of RAM for Photoshop, but 16GB or more is ideal for larger files.
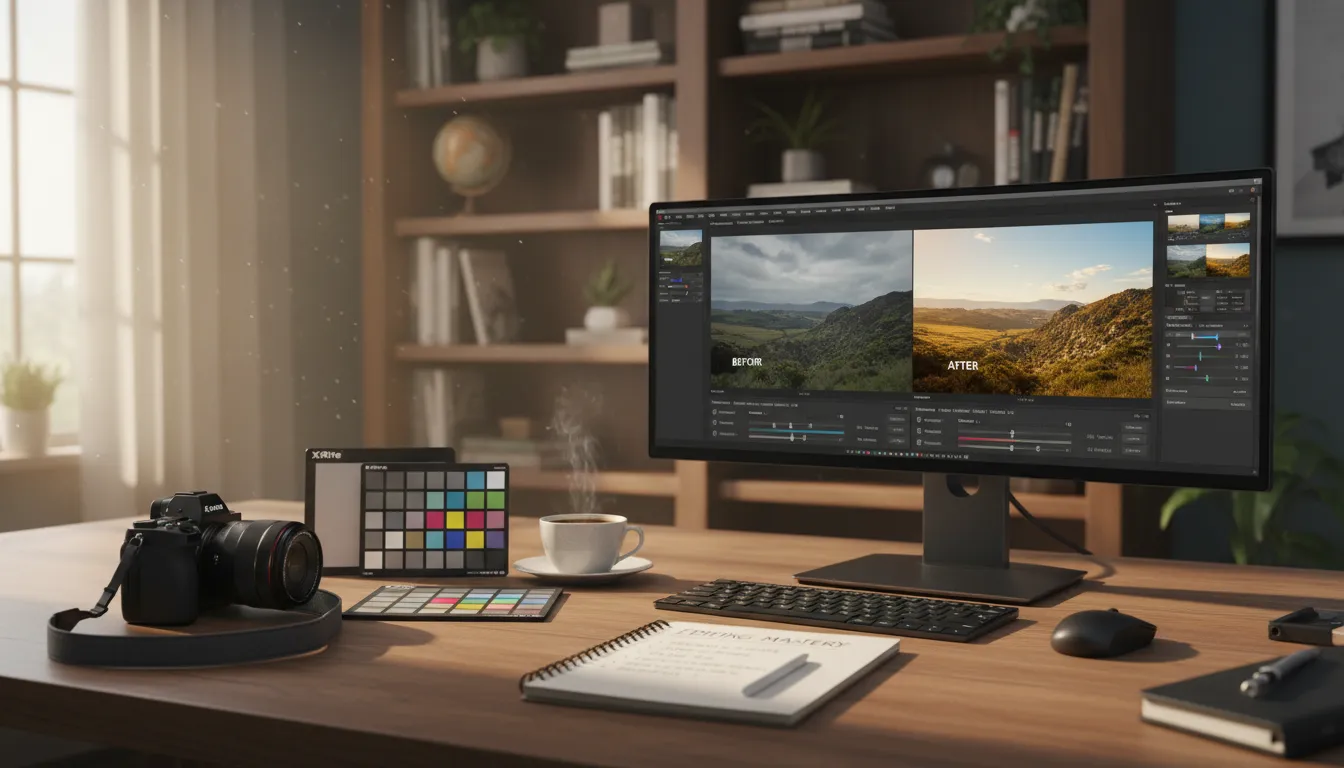
Monitor Calibration
Monitor calibration is vital to ensure that the colors you see on your screen are accurate. This process involves adjusting your monitor’s settings to reflect true colors.
Tools and Methods for Accurate Color
Tools like X-Rite i1Display Pro or Datacolor Spyder5 can help calibrate your monitor. For more information on monitor calibration, you can refer to tips on setting up your editing.
Organizing Your Digital Files
Organizing your digital files is just as important as having the right hardware. A well-structured folder system can save you time and reduce stress.
Folder Structures and Naming Conventions
Create a logical folder structure with clear naming conventions. For example, you can organize your photos by date, project, or client. This makes it easier to locate specific files when needed.
| Organization Method | Description | Benefits |
|---|---|---|
| Date-Based | Organize files by date | Easy to track progress over time |
| Project-Based | Organize files by project | Simplifies collaboration and file sharing |
| Client-Based | Organize files by client | Enhances client management and service |
Understanding Image File Formats
The world of image file formats can be complex, but knowing the differences is key to successful photo editing. Image file formats determine the quality, flexibility, and usability of your photos, making it crucial to understand when to use each format.
RAW vs. JPEG
One of the most fundamental decisions you’ll make when editing photos is whether to shoot in RAW or JPEG. RAW files contain all the data captured by the camera’s sensor, offering greater flexibility during editing. On the other hand, JPEGs are compressed files that are ready to share, but they discard some of the data to reduce file size.
Benefits of Shooting in RAW
Shooting in RAW provides several benefits, including greater dynamic range, better white balance adjustment, and more detailed shadows and highlights. For instance, a study by Digital Photography School highlights the advantages of RAW files in post-processing flexibility.
“Shooting in RAW gives you a lot more latitude when it comes to adjusting exposure, contrast, and color temperature in post-processing.”
When to Use Different Formats
Different formats serve different purposes. While RAW is ideal for editing, JPEG is suitable for sharing. Other formats like PNG and TIFF have their own use cases.
PNG, TIFF, and Other Formats
PNG is great for web graphics because it supports transparency. TIFF is a versatile format that can be used for both editing and archiving, as it supports layers and is lossless. Here’s a comparison:
| Format | Use Case | Lossless |
|---|---|---|
| RAW | Editing | Yes |
| JPEG | Sharing | No |
| PNG | Web Graphics | Yes |
| TIFF | Editing/Archiving | Yes |
File size is an important consideration, especially when it comes to storage and transfer. Larger files like RAW images require more storage space.
Storage and Backup Solutions
Investing in adequate storage and backup solutions is crucial. External hard drives and cloud storage services can help manage your growing library of images. Consider solutions that offer automatic backups and versioning.
Creating an Efficient Photo Editing Workflow
A well-structured photo editing workflow can significantly reduce the time spent on post-processing tasks. By implementing a systematic approach, photographers and editors can enhance their productivity and deliver high-quality images efficiently.
Importing and Organizing Photos
The first step in creating an efficient workflow is importing and organizing your photos. This involves transferring your images from your camera or memory card to your computer and structuring them in a way that makes them easily accessible.
Using Metadata and Keywords
Utilizing metadata and keywords is crucial for organizing your photos. By adding relevant information such as captions, locations, and keywords, you can quickly locate specific images within your library. As noted by a professional, “Using metadata is like having a superpower for your image library; it makes finding and managing your photos incredibly efficient.”
“The key to a successful photo editing workflow is in the details, and metadata is one of those critical details.”
Sam Hurd, Professional Photographer
Culling and Selection Process
After importing and organizing your photos, the next step is to cull through your images and select the best ones. This process involves reviewing your photos, identifying the keepers, and discarding or flagging the rest.
Rating Systems and Flagging
Implementing a rating system or using flags can help streamline the culling process. By assigning ratings or flags to your images, you can quickly differentiate between your top picks and the rest. For instance, you can use a 5-star rating system where 5 stars are reserved for your best shots.
Batch Processing Techniques
Batch processing is a time-saving technique that involves applying edits to multiple images simultaneously. This is particularly useful when dealing with a large number of photos that require similar adjustments.
Synchronizing Settings Across Multiple Images
One of the key benefits of batch processing is the ability to synchronize settings across multiple images. For example, if you’re editing a series of photos taken under the same lighting conditions, you can apply the same exposure and white balance settings to all of them at once. To learn more about optimizing your photo editing workflow, check out this article on fast photo workflow techniques.
| Workflow Step | Description | Benefits |
|---|---|---|
| Importing and Organizing | Transferring images to your computer and structuring them for easy access. | Quick access to images, reduced time spent searching. |
| Culling and Selection | Reviewing images to identify the best ones. | Improved efficiency, focus on high-quality images. |
| Batch Processing | Applying edits to multiple images at once. | Time savings, consistency across images. |
Mastering Basic Adjustments
The foundation of great photo editing lies in making effective basic adjustments. These fundamental edits can significantly enhance the quality of your images, making them more visually appealing.
Exposure Correction
Exposure correction is a critical step in photo editing. It involves adjusting the brightness and darkness of your image to achieve a more balanced look.
Recovering Highlights and Shadows
One of the key aspects of exposure correction is recovering highlights and shadows. This process involves recovering blown-out highlights and bringing out details in dark shadows. By doing so, you can add depth and dimension to your photos.
- Adjust the exposure slider to set the overall brightness.
- Use the highlight recovery tool to restore details in overexposed areas.
- Adjust the shadow slider to reveal details in underexposed areas.
White Balance Adjustment
White balance adjustment is crucial for ensuring that the colors in your image are accurate and natural-looking.
Fixing Color Temperature Issues
Different lighting conditions can cause color temperature issues in your photos. Adjusting the white balance helps to correct these issues, ensuring that your image looks natural.
- Identify the dominant light source in your image.
- Adjust the white balance setting to match the light source (e.g., daylight, tungsten, fluorescent).
- Fine-tune the adjustment to achieve the most natural color representation.
Contrast and Brightness
Adjusting contrast and brightness is essential for making your images more engaging.
Using Tone Curves for Precise Control
Tone curves offer a powerful way to adjust the contrast and brightness of your images with precision. By manipulating the tone curve, you can enhance the contrast and adjust the brightness to achieve the desired effect.
For more detailed guidance on photo editing, you can visit Lemon8 App for additional tips and resources.
Essential Photo Editing Tips for Beginners
To get started with photo editing, beginners should focus on developing good habits and learning key techniques. Mastering the basics will help you create professional-looking images and streamline your editing process.
Non-Destructive Editing Practices
Non-destructive editing is a crucial technique that allows you to make changes to your images without altering the original file. This approach ensures that you can always revert to the original image if needed.
Working with Adjustment Layers
Adjustment layers are a powerful tool in non-destructive editing. They enable you to make tonal and color adjustments without affecting the original image. To create an adjustment layer, go to the “Layer” menu, select “New Adjustment Layer,” and choose the type of adjustment you want to make.
- Use adjustment layers to make non-destructive edits.
- Experiment with different adjustment layers to achieve the desired effect.
- Combine multiple adjustment layers for complex edits.
Using Layers and Masks
Layers and masks are fundamental components of advanced photo editing. They allow you to make selective adjustments and blend multiple images together seamlessly.
Selective Adjustments and Blending
To make selective adjustments, use layer masks to target specific areas of your image. You can then use the “Brush” tool to paint on the mask and reveal or hide the adjustment.
Blending modes can also be used to combine layers in creative ways. Experiment with different blending modes to achieve unique effects.
Working with Histograms
A histogram is a graphical representation of the tonal values in your image. Understanding how to read a histogram is essential for making informed editing decisions.
Reading and Interpreting Histogram Data
A histogram can tell you if your image is under or overexposed. It can also show if there are any areas with lost detail. Use the histogram to adjust your image’s exposure and contrast.
| Histogram Reading | Image Adjustment |
|---|---|
| Under-exposed histogram | Increase exposure |
| Over-exposed histogram | Decrease exposure |
| Clipped shadows or highlights | Adjust contrast and exposure |
Color Correction and Enhancement Techniques
Understanding color correction techniques is essential for any photographer looking to improve their craft. Color correction is not just about making your photos look better; it’s about giving them a professional finish that can make a significant difference in how they’re perceived.
Understanding Color Theory
Color theory is the foundation of color correction. It involves understanding how different colors interact with each other.
Color Wheels and Relationships
The color wheel is a circular diagram that shows how colors are related to each other. It’s a crucial tool for understanding color harmony and contrast.
Saturation vs. Vibrance
When enhancing colors, it’s essential to understand the difference between saturation and vibrance. Saturation refers to the intensity of colors, while vibrance affects the less saturated colors, making them more vivid without oversaturating the already saturated ones.
When to Use Each Adjustment
Use saturation when you want to make all colors more intense. Use vibrance when you want to enhance the less saturated colors without affecting the already vivid ones.
Creating Color Harmony
Color harmony refers to the way colors work together to create a visually appealing effect. Techniques like split toning and color grading can enhance the mood of your photos.
Split Toning and Color Grading
Split toning involves applying different tones to the shadows and highlights, creating a unique, stylized look. Color grading refers to the process of creating a specific aesthetic by adjusting the colors of your image.
- Use split toning to add depth to your black and white images.
- Apply color grading to give your photos a consistent look.
By mastering these color correction and enhancement techniques, you can significantly improve your photos, making them more engaging and professional-looking. Whether you’re using the best photo editing software or learning how to edit photos from scratch, understanding color theory and its applications is key.
Cropping and Composition Refinement
The art of cropping and refining composition can elevate your photography to new heights. By applying a few key techniques, you can significantly enhance the visual impact of your images.
Rule of Thirds in Post-Processing
One of the most effective composition techniques is the rule of thirds. Dividing your image into thirds both horizontally and vertically creates nine grid sections. Placing important elements along these lines or at their intersections can create more balanced and engaging compositions.
Using Grid Overlays
Many photo editing software options offer grid overlays to help you apply the rule of thirds. Enable this feature to visualize the grid and adjust your crop accordingly.
Straightening and Perspective Correction
Sometimes, a photo may need a bit of straightening or perspective correction. Adjusting the horizon line can make a significant difference in the overall feel of the image.
Fixing Horizon Lines and Converging Verticals
To fix a tilted horizon, use the straighten tool or adjust the rotation manually. For converging verticals, adjust the perspective correction tool to align the vertical lines.
Creative Cropping Techniques
Cropping isn’t just about removing unwanted edges; it’s also a creative opportunity. Experiment with different aspect ratios to find the one that best suits your image.
Aspect Ratios for Different Purposes
Different aspect ratios are suited for different platforms. For example, a 1:1 ratio is ideal for Instagram, while a 16:9 ratio is better for widescreen displays.
| Aspect Ratio | Best Use |
|---|---|
| 1:1 | Instagram, social media |
| 16:9 | Widescreen displays, cinematic views |
| 3:2 | Standard photography prints |
Retouching and Healing Tools
To take your photo editing skills to the next level, it’s vital to understand how to use retouching and healing tools effectively. These tools are essential for removing imperfections, correcting flaws, and enhancing the overall quality of your images.
Removing Blemishes and Distractions
One of the most common uses of retouching tools is to remove blemishes and distractions from your photos. Spot healing brush techniques are particularly useful for this purpose.
Spot Healing Brush Techniques
The spot healing brush is a powerful tool that allows you to seamlessly remove blemishes by sampling the surrounding area and blending it with the affected region. To use this tool effectively, simply select the brush, adjust its size to match the blemish, and click on the area you want to retouch.
Using the Clone Stamp Tool
The clone stamp tool is another versatile retouching tool that allows you to duplicate areas of an image and apply them to other parts of the photo.
Source Point Selection and Blending
To use the clone stamp tool effectively, it’s crucial to select the right source point and blend it seamlessly with the surrounding area. This requires a bit of practice, but the results can be highly rewarding.
Content-Aware Fill Techniques
Content-aware fill is a sophisticated tool that allows you to remove larger objects from your photos while maintaining the integrity of the surrounding area.
Removing Larger Objects Seamlessly
To remove larger objects seamlessly, simply select the object using the content-aware fill tool, and the software will automatically fill the area with a matching texture and pattern. This technique can be used to remove unwanted objects, simplify complex compositions, or even create artistic effects.
By mastering these retouching and healing tools, you can significantly enhance the quality and visual appeal of your photos, taking your photo editing skills to new heights.
Sharpening and Noise Reduction
To enhance the overall quality of your photos, understanding sharpening and noise reduction techniques is essential. These processes are vital in producing images that are clear, detailed, and visually appealing.
Understanding Image Noise
Image noise refers to the random fluctuations in pixel values that can detract from the overall clarity of an image. It’s a common issue, especially in low-light photography.
Luminance vs. Color Noise
Luminance noise affects the brightness of pixels, creating a grainy appearance, while color noise introduces random color pixels, making the image look speckled. Understanding the type of noise is crucial for applying the correct reduction techniques.
Effective Sharpening Methods
Sharpening enhances the clarity of an image by accentuating the edges and details. There are several techniques to achieve this, including the use of specific filters.
Unsharp Mask and High Pass Filtering
The Unsharp Mask filter is a popular tool for sharpening images. It works by increasing the contrast between edges, making them appear sharper. High Pass Filtering is another technique that isolates and enhances the high-frequency components of an image, thereby sharpening it.
Balancing Detail and Noise
Achieving a balance between detail enhancement and noise reduction is key to producing high-quality images. Over-sharpening can amplify noise, while over-smoothing can lose important details.
Selective Sharpening Techniques
Selective sharpening involves applying sharpening techniques to specific areas of an image, rather than the entire photo. This approach helps in maintaining detail where it’s needed while minimizing the enhancement of noise.
By mastering sharpening and noise reduction, you can significantly improve your photo editing workflow, resulting in clearer, more detailed images that captivate your audience.
Working with Filters and Presets
The use of filters and presets can transform your photo editing process, making it more efficient and creative. These tools allow photographers to apply a consistent aesthetic across their work, saving time and enhancing the overall quality of their images.
Creating Your Own Presets
Creating custom presets in your best photo editing software can streamline your workflow. By saving frequently used adjustments as presets, you can apply them to multiple images with just a few clicks.
To create a preset, start by editing a photo to your desired look. Then, save the adjustments as a preset. This feature is particularly useful for photographers who shoot in similar conditions or styles regularly.
Building a Signature Style
Developing a signature style through presets can set your work apart. By creating a consistent look, you can establish a recognizable brand identity. “A consistent aesthetic can make your photography stand out in a crowded market,” says a renowned photographer.
When to Use Filters
Filters can dramatically change the mood and impact of your photos. They can be used to enhance colors, contrast, and exposure. However, it’s crucial to use them judiciously to avoid over-processing.
Knowing how to edit photos effectively with filters involves understanding when to apply them. For instance, a graduated filter can enhance a landscape photo by balancing the exposure between the sky and the land.
Enhancing Different Types of Photography
Different genres of photography benefit from different types of filters. For example, portrait photographers might use filters that enhance skin tones, while landscape photographers might prefer filters that accentuate skies and terrains.
Maintaining a Consistent Style
Consistency is key to creating a cohesive portfolio. By using presets and filters thoughtfully, you can maintain a uniform look across your photo collections.
To achieve this, consider creating a style guide for your presets and filters. This guide can help ensure that your edits are consistent, even when working on different projects or with different team members.
Creating Cohesive Photo Collections
A cohesive collection can tell a more compelling story. By applying a consistent style, you can guide the viewer’s eye through the narrative you’re presenting.
 By mastering the use of filters and presets, photographers can not only enhance their images but also develop a unique and recognizable style. This skill is invaluable in creating a professional and compelling portfolio.
Exporting and Sharing Your Edited Photos
Exporting your edited photos is a vital part of the photo editing workflow guide. After investing time and effort into editing your images, you need to ensure they’re optimized for various platforms and purposes.
Optimizing for Different Platforms
Different social media platforms and uses (web, print, etc.) require different export settings. For instance, Instagram and Facebook have different optimal image sizes and resolutions.
Social Media Export Settings
When exporting for social media, consider the following settings:
| Platform | Optimal Image Size | Recommended Resolution |
|---|---|---|
| 1080 x 1080 pixels | 72 dpi | |
| 2048 x 2048 pixels | 72 dpi |
The intended use of your image dictates its resolution and size. For web use, a lower resolution is sufficient, while print requires much higher resolutions.
Print vs. Digital Requirements
For print, a resolution of at least 300 dpi is recommended. Digital use, on the other hand, typically requires much lower resolutions.
As discussed on the Lightroom Queen community forum, understanding how to export and overwrite files is crucial for maintaining an efficient workflow.
Watermarking Your Work
Watermarking your images can help protect them from unauthorized use online.
Protecting Your Images Online
A visible watermark with your name or logo can deter misuse and help identify the image’s source.
By carefully considering your export settings and protecting your work, you can ensure your edited photos are shared effectively and securely.
Conclusion: Building Your Photo Editing Skills
Mastering photo editing requires practice, patience, and persistence. By following this step-by-step guide, you’ve gained a solid understanding of the fundamentals and techniques involved in editing your photos. From understanding image file formats to using the best photo editing software, you’ve learned how to enhance your images creatively.
To further improve your skills, continue experimenting with different editing techniques and tools. Explore various photo editing tips and styles to develop your unique visual voice. An effective editing workflow guide can help streamline your process, making it more efficient to edit your photos.
As you refine your skills, you’ll become more confident in your ability to edit photos and create stunning images. Remember, the key to success lies in consistent practice and a willingness to learn and adapt new photo editing tips and techniques.
FAQ
What is the best photo editing software for beginners?
For beginners, Adobe Lightroom and GIMP are excellent choices. They offer a user-friendly interface and a wide range of tools to enhance your photos. Additionally, mobile editing apps like Snapseed and VSCO are great for on-the-go editing.### How do I choose the right photo editing software for my needs?
Consider your level of expertise, the type of photography you do, and the features you need. Professional photographers may prefer Adobe Photoshop or Capture One, while hobbyists might find budget-friendly alternatives like Luminar or ON1 Photo RAW sufficient.### What is the difference between RAW and JPEG file formats?
RAW files contain more image data than JPEGs, giving you greater flexibility during the editing process. JPEGs are compressed files that are ready to share, but they offer less flexibility when editing.### How can I improve my photo editing workflow?
To create an efficient workflow, start by organizing your photos, using metadata and keywords, and culling your best shots. Then, use batch processing techniques to apply consistent edits across multiple images, saving you time and effort.### What are some essential photo editing tips for beginners?
Beginners should practice non-destructive editing, use layers and masks for selective adjustments, and understand histograms to make informed editing decisions. These skills will help you improve your editing techniques and avoid common mistakes.### How do I export my edited photos for different platforms?
When exporting, consider the platform’s requirements. For social media, reduce the resolution and size to optimize for web viewing. For printing, maintain a higher resolution and adjust the size according to the print requirements.### What is the best way to protect my edited photos online?
To protect your work, consider watermarking your images before sharing them online. This helps deter unauthorized use and maintains your copyright.### How can I maintain a consistent style across my photo collections?
To achieve a consistent style, create and use presets or filters that reflect your aesthetic. Apply these consistently across your images, and adjust as needed to maintain cohesion.