Capturing stunning landscape images can be a daunting task, especially for those new to photography. However, with the right techniques and a bit of practice, beginners can quickly improve their skills and take their photography to the next level.
Understanding the basics of landscape photography is crucial for capturing breathtaking images. This article will explore the top 10 landscape photography tips that every beginner should know, from composition and focal points to the best times to shoot and the essential gear you’ll need.
Key Takeaways
- Mastering composition techniques is crucial for capturing stunning landscape images.
- Identifying a main focal point can help draw the viewer’s eye into the image.
- Including detailed foreground elements can add depth to your photos.
- Understanding how to use the histogram can help you achieve optimal exposure.
- Shooting during the golden hour can result in striking and beautiful images.
The Art and Science of Landscape Photography
The world of landscape photography is where art and science converge, challenging photographers to master both creative and technical aspects. As a genre, it requires a deep appreciation of nature’s beauty and the ability to capture it using various photographic techniques.
What Makes Landscape Photography Unique
Landscape photography stands out due to its ability to convey the grandeur and serenity of natural environments. It involves more than just pointing a camera at a scenic view; it requires an understanding of lighting, composition, and the technical capabilities of one’s landscape photography gear.
The Rewards and Challenges for Beginners
For those new to landscape photography, the rewards are immense, including the opportunity to explore new locations and capture breathtaking images. However, beginners also face several challenges.
Physical Challenges
One of the primary physical challenges is the need to travel to often remote locations, sometimes under difficult weather conditions. This requires a certain level of physical fitness and preparation.
Technical Challenges
Technically, landscape photographers must understand how to use their equipment effectively, including cameras, tripods, and filters, to achieve the desired effects. Mastering essential landscape photography techniques is crucial for producing high-quality images.
As noted by renowned landscape photographer, Ansel Adams, “You don’t take a photograph, you make it.” This quote underscores the importance of both artistic vision and technical skill in landscape photography.
“There are always two people in every picture: the photographer and the viewer.”
Ansel Adams
By understanding and overcoming these challenges, beginners can improve their skills and enjoy the many rewards that landscape photography has to offer.
Essential Gear for Stunning Landscape Photography
To truly excel in landscape photography, understanding and utilizing the appropriate gear is crucial. The right equipment can significantly enhance the quality of your images, making the difference between a good shot and a breathtaking one.
Camera Bodies: What You Really Need
When it comes to camera bodies, the key is to find a balance between quality and functionality. A good DSLR or mirrorless camera with manual controls is essential. Look for a camera that offers high resolution and good low-light performance. For instance, cameras with full-frame sensors are preferred for their ability to capture more detail and perform better in low light.
Lenses for Landscape Photography
Lenses are perhaps the most critical component of your landscape photography gear. Different lenses offer different perspectives and capabilities.
Wide-Angle Lenses
Wide-angle lenses are a staple in landscape photography, allowing you to capture broad vistas. They are ideal for shooting expansive scenes, such as vast landscapes or sweeping skies. A lens with a focal length between 10-24mm is typically considered ideal for landscape photography.
Telephoto Options
While wide-angle lenses are more common, telephoto lenses can also be incredibly useful, especially for isolating specific features within a landscape, such as mountains or waterfalls. They can compress perspectives, making elements appear closer together.
Tripods and Stability Equipment
A sturdy tripod is indispensable for landscape photography, especially when shooting in low light or using slow shutter speeds. It helps prevent camera shake, ensuring sharper images. For those looking for additional stability, consider using a remote shutter release or the camera’s self-timer.
Filters and Their Impact
Filters can dramatically enhance your landscape photography by allowing more control over the image.
ND Filters
Neutral Density (ND) filters reduce the amount of light entering the lens, enabling slower shutter speeds even in bright conditions. This is particularly useful for creating silky water effects or smoothing out clouds.
Polarizing Filters
Polarizing filters help reduce glare and enhance colors by filtering out reflected light. They can deepen the blue of skies and make foliage appear more vibrant. For more information on essential gear, check out this comprehensive guide on photographing milky way landscapes.
By understanding and utilizing these essential pieces of gear, you can significantly improve your landscape photography skills and capture stunning images.
The Golden Hour: Mastering Light in Landscape Photography
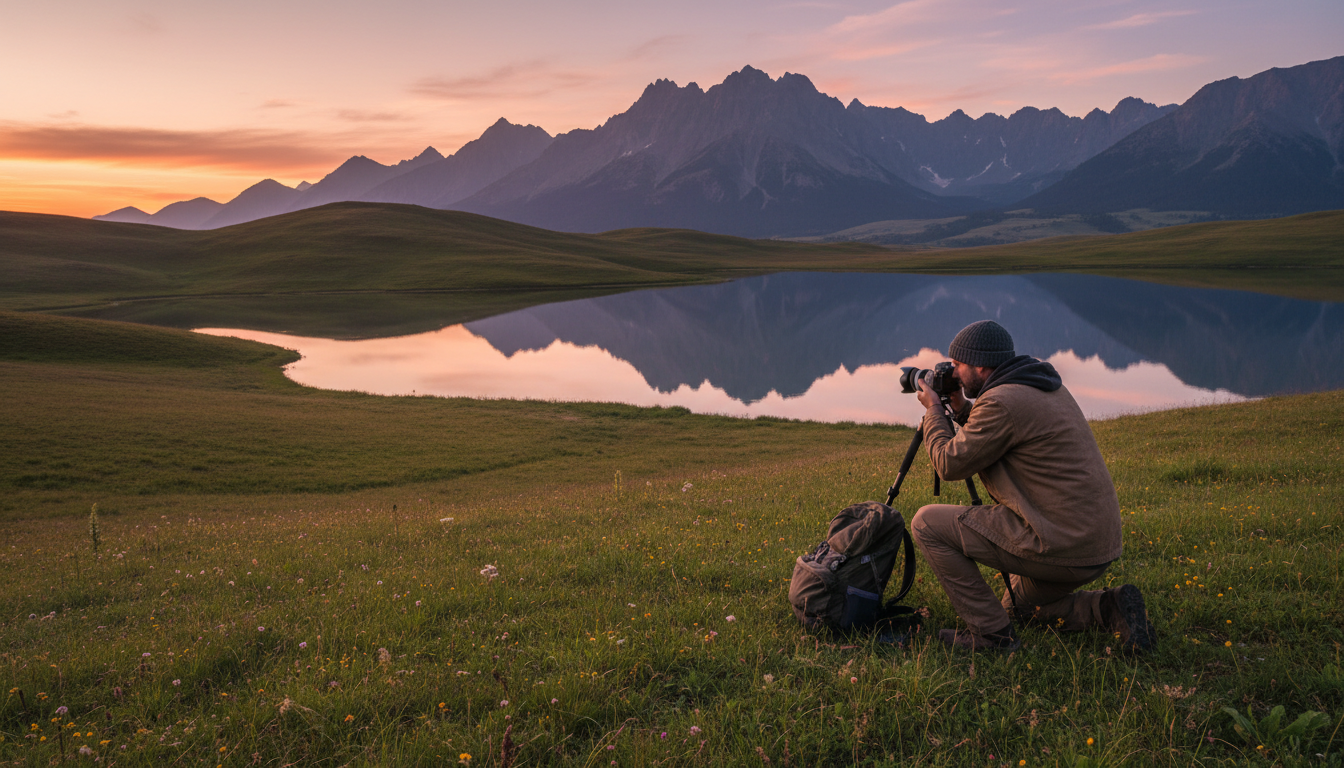
Light is the essence of photography, and in landscape photography, it can make or break an image. The golden hour, which occurs shortly after sunrise and before sunset, is particularly prized for its soft, warm light that enhances the natural beauty of landscapes.
Why Timing Matters in Natural Light
The timing of your shoot during the golden hour can significantly impact the quality of your photographs. This period offers a unique light that is both soft and directional, reducing harsh shadows and illuminating the scene with a warm glow.
Morning vs. Evening Light Characteristics
While both morning and evening golden hours offer beautiful light, they have distinct characteristics. Morning light tends to be cooler and less crowded, providing a serene atmosphere. Evening light, on the other hand, is warmer and can add a dramatic touch to your images.
Apps and Tools to Track the Perfect Light
To maximize your chances of capturing the perfect light, utilize apps and tools that track sunrise, sunset, and the golden hour. These resources help you plan your shoots and ensure you’re in the right location at the optimal time.
Shooting in Challenging Lighting Conditions
Not all shoots occur during the golden hour, and sometimes you’ll face challenging lighting conditions. Understanding how to work with these conditions, such as using filters or adjusting your camera settings, can help you capture stunning images even in less-than-ideal light.
By mastering the art of working with light, you can elevate your landscape photography to new heights, capturing images that are not only visually stunning but also emotionally resonant.
Tip 1: Composition Techniques That Transform Your Landscapes
To take your landscape photography to the next level, focus on composition techniques that can make a significant difference in the quality of your photos. Composition is the backbone of any great photograph, and landscape photography is no exception.
The Rule of Thirds in Practice
One of the most effective composition techniques is the rule of thirds. By dividing your image into thirds both horizontally and vertically, you can create a more balanced and interesting composition. Place key elements along these lines or at their intersections to add depth and complexity to your photos.
Leading Lines in Natural Environments
Leading lines are another powerful tool in landscape photography. These lines can be anything from roads and rivers to shorelines and mountain ridges. They guide the viewer’s eye through the image, creating a sense of depth and movement.
“The world is a book, and those who do not travel read only one page.” - Saint Augustine
Creating Depth Through Layering
Creating depth in your landscape photos can be achieved through layering. By incorporating elements in the foreground, mid-ground, and background, you can create a sense of depth and dimensionality. This technique helps to engage the viewer and adds complexity to the image.
Framing with Natural Elements
Framing your subject with natural elements like trees, arches, or rocks can help isolate the main subject and add context. This technique not only enhances the composition but also draws the viewer’s attention to the focal point of the image.
By applying these best landscape techniques, you can significantly improve your landscape photography. Remember, practice makes perfect, so get out there and start experimenting with different composition techniques to find what works best for you.
Tip 2: Finding the Perfect Focal Point
Landscape photography isn’t just about capturing a beautiful scene; it’s about guiding the viewer’s attention to a specific point of interest. A strong focal point can elevate your image from a mere snapshot to a compelling work of art.
Natural Elements as Strong Focal Points
Natural elements such as mountains, trees, and water bodies can serve as excellent focal points. Identifying the right element that draws the viewer’s eye is crucial. For instance, a solitary tree in a vast landscape can create a striking contrast.
Balancing Multiple Points of Interest
Sometimes, a scene may have multiple interesting elements. Balancing these elements without overwhelming the viewer is an art. Techniques such as the rule of thirds can help in distributing the points of interest effectively across the frame.
Using Foreground Elements Effectively
Foreground elements can add depth to your landscape photographs. Let’s explore how different elements can be used:
Rocks and Vegetation
Rocks and vegetation can create interesting textures and patterns. They can lead the viewer’s eye into the scene and add layers to the image.
Reflections and Textures
Reflections on water or glass can add an extra layer of interest. Similarly, capturing the textures of natural elements like tree bark or rocky surfaces can enhance the tactile quality of the image.
| Foreground Element | Effect |
|---|---|
| Rocks | Adds texture and can lead the eye |
| Vegetation | Creates depth and layering |
| Reflections | Adds an extra layer of interest |
Ansel Adams
By understanding and applying these principles, you can significantly improve your landscape photography, making your images more engaging and visually appealing.
Tip 3: Mastering Depth of Field for Sharper Landscapes
To capture stunning landscapes, photographers must understand how to control depth of field effectively. Depth of field refers to the area in an image that appears to be in focus. In landscape photography, a deep depth of field is often desired to keep the entire scene, from foreground to background, sharp and clear.
Understanding Aperture Settings for Landscapes
Aperture is the primary control for depth of field. A smaller aperture (higher f-stop number) increases the depth of field, ensuring more of the image is in focus. For landscapes, f/8 to f/11 is often a good starting point.
Finding the Sweet Spot for Your Specific Lens
Every lens has a “sweet spot” where it performs optimally. This is usually around two stops down from the maximum aperture. Using this setting can help achieve the sharpest image possible.
When and How to Use Focus Stacking
Focus stacking involves taking multiple shots at different focus points and merging them. This technique is useful for achieving a deep depth of field when a single shot cannot capture the required focus range.
Hyperfocal Distance Techniques
Hyperfocal distance is the focus distance that provides the maximum depth of field for a given aperture. Focusing at this distance ensures that everything from half this distance to infinity is acceptably sharp. Using hyperfocal distance can simplify achieving a deep depth of field.
By mastering these techniques, landscape photographers can significantly improve the sharpness and overall quality of their images. Experimenting with different aperture settings, understanding your lens’s sweet spot, utilizing focus stacking, and applying hyperfocal distance techniques are all crucial steps in achieving professional-looking results.
- Use a smaller aperture (higher f-stop number) for a deeper depth of field.
- Identify your lens’s sweet spot for optimal sharpness.
- Apply focus stacking for complex scenes requiring extensive depth of field.
- Utilize hyperfocal distance to maximize depth of field efficiently.
Tip 4: Essential Landscape Photography Tips for Camera Settings
Mastering camera settings is crucial for capturing stunning landscape photographs. The right settings can elevate your images from good to breathtaking, capturing the essence of the natural world.
ISO Considerations for Clean Landscape Images
When it comes to landscape photography, keeping the ISO as low as possible is generally recommended to avoid noise and ensure the cleanest image. Most cameras perform best at ISO 100 or 200. However, in low-light conditions, you might need to adjust this setting.
Shutter Speed Techniques for Different Effects
Shutter speed can dramatically change the look of your landscape photos. For long exposures that create silky water effects, slower shutter speeds are ideal. Conversely, faster shutter speeds are better for freezing motion, such as in scenes with moving clouds or water.
Using Exposure Bracketing Effectively
Exposure bracketing involves taking multiple shots at different exposures and then merging them later. This technique is invaluable for capturing scenes with high contrast, ensuring that both the sky and the landscape are well-exposed.
White Balance for Natural-Looking Scenes
White balance adjusts the color temperature of your images, making them look more natural. In landscape photography, setting the white balance according to the scene (e.g., daylight, shade, or tungsten for specific lighting conditions) can greatly enhance the authenticity of your photos.
| Camera Setting | Purpose | Best Practice |
|---|---|---|
| ISO | Minimize noise | Keep as low as possible (100-200) |
| Shutter Speed | Create desired effects | Slow for silky water, fast for freezing motion |
| Exposure Bracketing | Capture high contrast scenes | Merge multiple exposures |
| White Balance | Adjust color temperature | Set according to lighting conditions |
“The camera is an instrument that teaches people how to see without a camera.” - Dorothea Lange
Tip 5: Weather and Seasons in Landscape Photography
Understanding the impact of weather and seasons is crucial for capturing breathtaking landscapes. The ever-changing sky and environmental conditions can dramatically alter the mood and beauty of a scene, offering photographers a wide range of creative opportunities.
Capturing Dramatic Weather Conditions
Weather conditions can make or break a landscape photograph. Dramatic skies with clouds, fog, or mist can add depth and emotion to an image.
Storms and Clouds
Storms can create dynamic and moody skies. “The best landscape photos are often taken during the golden hour, just before a storm,” says a renowned landscape photographer. Capturing the moments before, during, or after a storm can result in dramatic images.
Fog and Mist
Fog and mist can add a mystical quality to landscapes, simplifying complex scenes and creating a sense of mystery. They can also help to reduce the dynamic range of a scene, making it easier to capture detail in both the shadows and highlights.
Seasonal Variations of the Same Location
The same location can look vastly different across various seasons, offering multiple opportunities to capture unique images. For example, a landscape might be lush and green in spring, golden in autumn, snow-covered in winter, or dry and earthy in summer.
Safety Considerations in Challenging Conditions
While capturing images in challenging weather conditions can be rewarding, it’s essential to prioritize safety. Photographers should be aware of their surroundings, watch for signs of changing weather, and be prepared with appropriate gear and clothing.
By understanding and embracing the role of weather and seasons, photographers can elevate their landscape photography, capturing images that are not only visually stunning but also rich in mood and atmosphere.
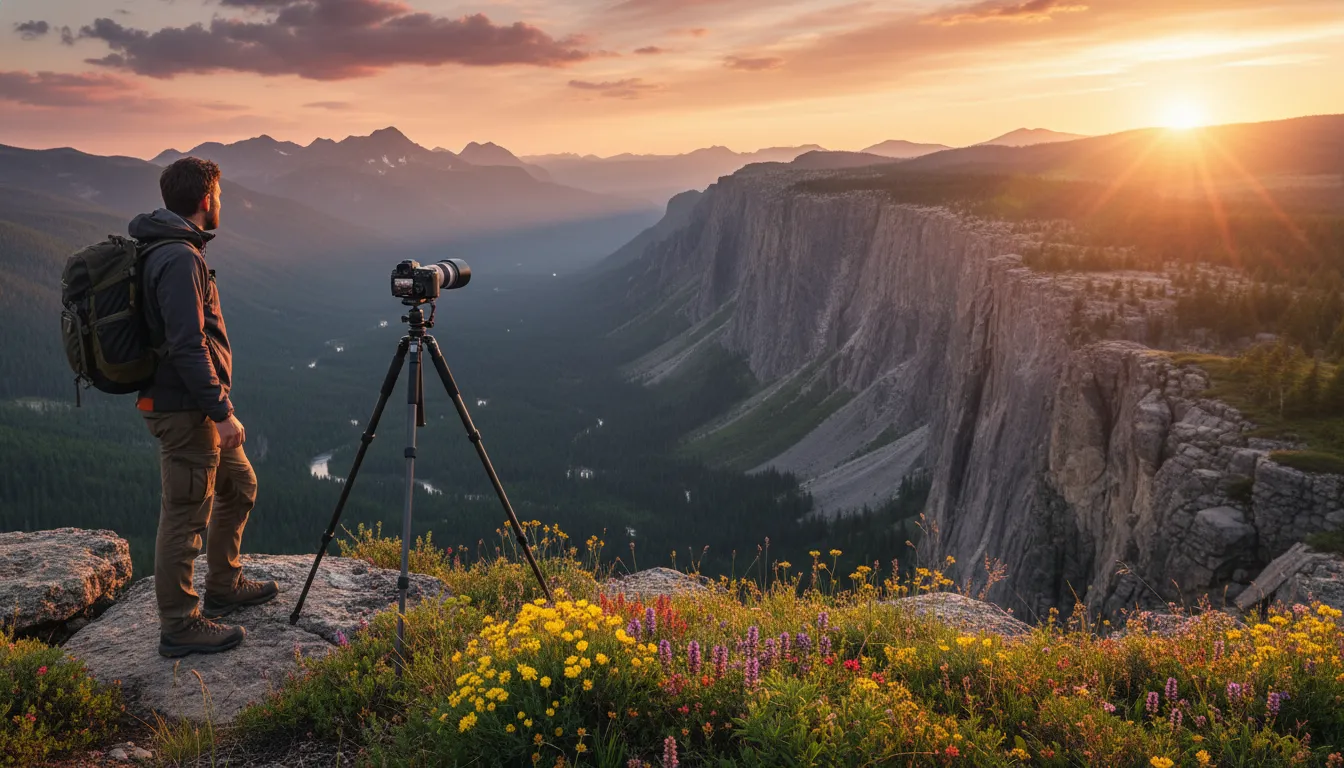
Tip 6: Location Scouting and Planning
To elevate your landscape photography, understanding the importance of location scouting is key. It’s not just about being in the right place at the right time; it’s about knowing what to look for and how to prepare for the shot.
Research Tools and Resources for Photographers
Utilizing the right tools can significantly enhance your location scouting process. Apps like Sun Surveyor and PhotoPills provide invaluable information on sun and moon positions, helping you plan your shots during the golden hour or when the moon is in the right position.
Virtual Scouting Techniques
Before physically visiting a location, you can use online resources like Google Earth and satellite imagery to get a preliminary understanding of the terrain and potential vantage points. This can save time and help you plan more effectively.
Creating a Shot List and Timeline
Once you’ve identified a location, creating a shot list and timeline can help you maximize your time. Consider the direction of light, the tide (if applicable), and other factors that might affect your shoot. This preparation allows you to focus on capturing the best possible images.
Permissions and Access Considerations
Some locations may require special permissions or have restricted access. Researching these requirements in advance can prevent disappointment. Understanding local regulations and respecting private property is also crucial.
By combining thorough research, virtual scouting, and careful planning, you can significantly improve your landscape photography outcomes. Investing time in location scouting and planning is an essential landscape photography practice that can elevate your work from good to great.
Tip 7: Capturing Water in Landscape Photography
Capturing water in landscape photography can elevate your images from ordinary to extraordinary. Water adds a dynamic element to your photos, creating opportunities for creative expression and technical skill demonstration.
Silky Water Effects with Long Exposures
One of the most sought-after effects in landscape photography is the silky water effect achieved with long exposures. To accomplish this, use a neutral density (ND) filter to reduce the amount of light entering the camera, allowing for slower shutter speeds.
For example, a shutter speed of 1-2 seconds can start to smooth out water, while longer exposures of 10-30 seconds can create a very silky effect. Experiment with different shutter speeds to achieve the desired effect.
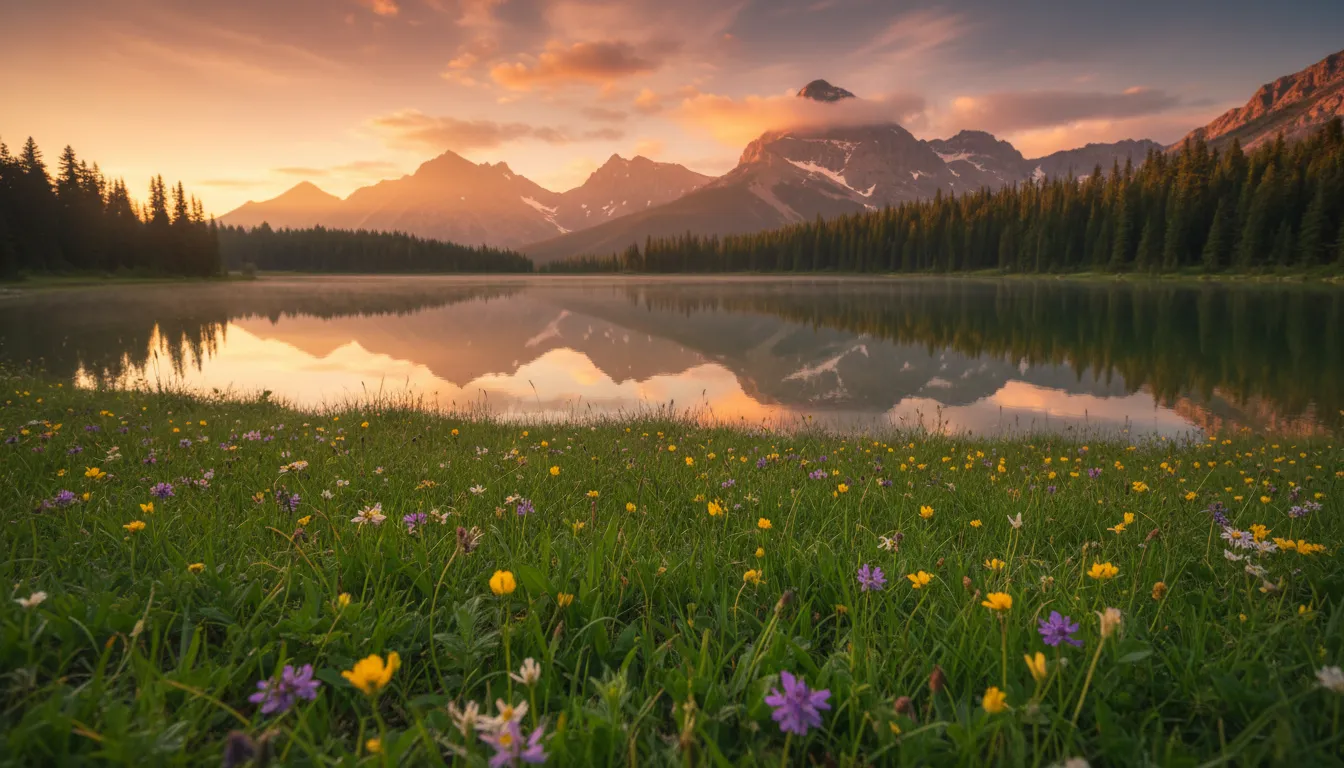
Utilizing Reflecting Surfaces
Water bodies like lakes, rivers, and ponds can act as perfect reflecting surfaces, adding symmetry and depth to your landscape photographs. To capture stunning reflections, look for calm conditions, typically found during early morning or late evening.
For more on mastering reflections, visit Light Stalking for expert tips and techniques.
Specialized Techniques for Oceans, Lakes, and Waterfalls
Different water bodies require unique approaches. For oceans and lakes, consider capturing the interplay of light and water. For waterfalls, mastering the right shutter speed is crucial.
Wave Motion Techniques
To capture the dynamic motion of waves, use a faster shutter speed (1/1000th of a second or faster) to freeze the action. Alternatively, use a slower shutter speed to convey motion and blur.
Waterfall Exposure Methods
For waterfalls, a shutter speed between 1/2 second to 2 seconds can create a nice blur, giving the water a silky appearance. Adjust based on the flow rate and desired effect.
- Use a tripod for stability during long exposures.
- Experiment with different shutter speeds to achieve various effects.
- Pay attention to lighting conditions to enhance your water scenes.
Tip 8: Post-Processing Essentials for Landscape Photographers
The art of post-processing can significantly enhance the quality and impact of your landscape photographs. As landscape photographers, understanding how to work with your images after they’ve been captured is just as important as the capture itself.
Basic Adjustments That Make a Significant Difference
Basic adjustments such as exposure correction, contrast adjustment, and white balance tweaking can dramatically improve your landscape images. For instance, adjusting the exposure can help recover details in both the shadows and highlights, making your image more balanced.
Enhancing Colors While Maintaining Realism
Enhancing colors in your landscape photos can make them more captivating. However, it’s crucial to maintain realism. Over-saturating colors can make the image look unnatural. Subtle adjustments to saturation and vibrance can enhance the natural beauty of the scene without making it look overly processed.
Balancing Sky and Foreground Exposure
One of the common challenges in landscape photography is balancing the exposure between the sky and the foreground. Techniques like exposure bracketing and subsequent merging of images can help achieve a balanced exposure. For more information on this technique, you can visit Digital Photography School for additional tips.
Creating Panoramas and HDR Images
Creating panoramas and HDR (High Dynamic Range) images are advanced post-processing techniques that can significantly enhance your landscape photography. Panoramas allow you to capture wider scenes than what a single shot can offer, while HDR images can capture a broader range of tonal values, resulting in more detailed images.
As
“The goal of post-processing is not to alter the reality of the scene but to enhance its natural beauty.”
By mastering these post-processing essentials, landscape photographers can significantly improve the quality of their images, making them more compelling and engaging.
Tip 9: Common Beginner Mistakes to Avoid
Mastering landscape photography requires more than just technical skills; it demands an understanding of common mistakes to avoid. Beginners often encounter a range of challenges, from composition errors to technical pitfalls, that can significantly impact the quality of their photographs.
Composition Errors and Solutions
One of the most common mistakes in landscape photography is poor composition. This can include failing to balance elements within the frame or neglecting to use leading lines effectively. To improve composition, try applying the rule of thirds and using natural features as leading lines to guide the viewer’s eye through the image.
Technical Pitfalls When Shooting
Technical issues, such as incorrect camera settings, can also hinder a photographer’s ability to capture high-quality images. For instance, using the wrong ISO or shutter speed can result in images that are either too noisy or not sharp enough. Check out additional tips on optimizing your camera settings for landscape photography.
Over-Processing Issues in Post-Production
Over-processing is another common mistake that can lead to unnatural-looking images. While post-processing is a crucial step in enhancing your photographs, overdoing it can result in images that look overly saturated or unnatural. To avoid this, make subtle adjustments and regularly check your image on different devices to ensure it looks natural.
Equipment Misuse and Maintenance Problems
Finally, misuse or neglect of equipment can also lead to subpar results. Regularly cleaning your lenses and ensuring your tripod is stable are simple yet effective ways to improve your photography. Understanding how to properly use your equipment is key to capturing the best possible images.
| Mistake | Solution |
|---|---|
| Poor Composition | Apply the rule of thirds, use leading lines |
| Technical Issues | Optimize camera settings (ISO, shutter speed) |
| Over-processing | Make subtle adjustments, check on different devices |
| Equipment Misuse | Regularly clean lenses, ensure tripod stability |
Tip 10: Taking Your Landscape Photography to the Next Level
As you progress in your landscape photography journey, it’s essential to explore advanced techniques that can elevate your images. This involves not just mastering your camera, but also understanding the nuances of light, composition, and storytelling.
Advanced Techniques to Try as You Progress
To refine your skills, consider experimenting with long exposure photography to capture the movement of clouds or water. Another technique is focus stacking, which allows for a greater depth of field in your images.
- Try using graduated filters to balance exposure between the sky and land.
- Experiment with different white balance settings to capture the true mood of the scene.
- Practice shooting in black and white to emphasize textures and tones.
Building a Cohesive Landscape Portfolio
A strong portfolio is crucial for any photographer. To build a cohesive collection, focus on consistency in style and quality. Curate your best work and consider creating a narrative thread throughout your portfolio.
Finding Your Unique Style and Vision
Developing a unique style involves understanding your personal preferences and the type of landscapes that resonate with you. Experiment with different techniques and styles until you find what works best.
Sharing and Getting Feedback on Your Work
Sharing your work online or through photography clubs can provide valuable feedback. Join online forums or local photography groups to connect with other photographers and learn from their experiences.
By implementing these strategies, you’ll be well on your way to enhancing your essential landscape photography skills and developing a distinctive style that showcases your vision.
Conclusion
Mastering landscape photography requires a combination of technical skills, creativity, and practice. By applying the top 10 landscape photography tips outlined in this article, beginners can significantly improve their craft. From understanding the importance of composition and lighting to using the right equipment and post-processing techniques, these best landscape techniques will help you capture stunning images.
As you continue on your photography journey, remember that practice is key. Experiment with different techniques, and don’t be afraid to try new things. With time and patience, you’ll develop your unique style and vision, allowing you to capture breathtaking landscapes that inspire and captivate your audience.
By following these landscape photography tips and continually challenging yourself, you’ll be well on your way to creating a compelling portfolio that showcases your artistic expression. So, grab your camera, head outdoors, and start capturing the beauty of the world around you.
FAQ
What is the best camera for landscape photography?
The best camera for landscape photography depends on personal preference, budget, and the type of landscapes you want to capture. Many professionals recommend using a full-frame DSLR or mirrorless camera from brands like Canon, Nikon, or Sony, as they offer excellent image quality and dynamic range.### What lenses are ideal for capturing wide landscapes?
Wide-angle lenses are ideal for capturing expansive landscapes. Lenses with a focal length between 10-24mm are popular among landscape photographers, as they allow for broad coverage and can create a sense of depth. Brands like Nikon, Canon, and Sony offer a range of wide-angle lenses suitable for landscape photography.### How do I achieve a silky water effect in my landscape photos?
To achieve a silky water effect, use a slow shutter speed, typically between 1-30 seconds, depending on the effect you want to achieve. A neutral density (ND) filter can help you achieve the desired shutter speed even in bright conditions. Using a tripod is essential to avoid camera shake and ensure a sharp image.### What is the golden hour, and why is it important in landscape photography?
The golden hour refers to the period shortly after sunrise or before sunset when the light takes on a warm, golden hue. This time is prized in landscape photography for its soft, warm light, which can add depth and character to your images. Shooting during the golden hour can enhance the mood and aesthetic of your photographs.### How can I improve my composition in landscape photography?
Improving composition involves understanding and applying various techniques such as the rule of thirds, leading lines, and framing. Experimenting with different angles and perspectives can also enhance your compositions. Paying attention to the elements within the scene and simplifying or enhancing them as needed can help create more compelling images.### What are the best practices for post-processing landscape photos?
Best practices for post-processing include making basic adjustments such as exposure and contrast, enhancing colors naturally, and balancing the exposure between the sky and foreground. Techniques like HDR and panorama stitching can also be used to create more dramatic images. It’s essential to edit subtly to maintain the natural look of the scene.### How do I choose the right tripod for landscape photography?
Choosing the right tripod involves considering factors like stability, weight, and height. A sturdy tripod that can support the weight of your camera and lenses is crucial. Look for tripods made from durable materials like carbon fiber or aluminum. The height should be adjustable to allow for comfortable shooting, and consider a tripod with a smooth panhead or ballhead for easy adjustments.### What are some common mistakes to avoid in landscape photography?
Common mistakes include poor composition, incorrect camera settings, and inadequate planning. Avoid over-processing your images, as it can lead to unnatural results. Also, be mindful of your equipment’s limitations and take necessary precautions to protect it, especially in challenging environments.