How to Improve Your Photography Skills Fast
To capture stunning images, it's essential to grasp the fundamentals and apply them effectively. With dedication and the right approach, you can significantly enhance your abilities in a short amount of time.
24 min read
Mastering photography techniques quickly requires a combination of understanding your camera and practicing regularly.
To capture stunning images, it’s essential to grasp the fundamentals and apply them effectively. With dedication and the right approach, you can significantly enhance your abilities in a short amount of time.
This article will guide you through the essential steps to improve your craft, from understanding your camera’s capabilities to advanced techniques.
Key Takeaways
- Understand your camera’s settings and capabilities.
- Practice regularly to reinforce new skills.
- Learn fundamental photography techniques.
- Apply quick photography tips to improve your craft.
- Experiment with different styles and approaches.
Understanding Your Camera’s Capabilities
The key to improving your photography lies in understanding your camera’s features and modes. Most cameras offer a variety of modes beyond auto, including semi-automatic and manual modes, which can significantly enhance your photography practice.
Getting Beyond Auto Mode
To truly take control of your photography, you need to get beyond Auto mode. Semi-automatic modes like P, A/Av, and S/Tv allow you to control specific aspects of your photography.
The Semi-Automatic Modes (P, A/Av, S/Tv)
Semi-automatic modes offer a balance between control and ease of use. For instance, Aperture Priority (A/Av) mode lets you control the aperture while the camera adjusts the shutter speed. As Ansel Adams once said, “You don’t take a photograph, you make it.” Mastering these modes allows you to make informed decisions about your photography.
“The camera is an instrument that teaches people how to see without a camera.” -
Dorothea Lange
When to Use Manual Mode
Manual mode gives you complete control over your camera settings, ideal for situations where you need to make precise adjustments. It’s particularly useful in challenging lighting conditions.
Essential Camera Settings Explained
Understanding essential camera settings is vital for capturing high-quality images. Two critical settings are White Balance and Focus Modes.
White Balance and Color Temperature
White Balance adjusts the color temperature of your images to match the lighting conditions. This ensures that your photos look natural and not overly warm or cool.
Focus Modes and Focus Points
Focus Modes and Focus Points determine how your camera focuses on subjects. Understanding these settings can help you achieve sharp images, even in complex scenes.
By mastering your camera’s capabilities, you’ll be able to focus on the creative aspects of photography, significantly improving your skills.
Mastering the Exposure Triangle
The exposure triangle, comprising aperture, shutter speed, and ISO, is the backbone of photography. Understanding how these three elements work together is crucial for improving photography skills. By mastering the exposure triangle, you can take control of your camera and capture images that reflect your creative vision.
Aperture: Controlling Depth of Field
Aperture refers to the size of the opening in your lens that lets light pass through to your camera’s sensor. It’s measured in f-stops (e.g., f/2.8, f/16), with lower f-stops indicating larger apertures. Aperture is crucial for controlling the depth of field in your images.
Creating Beautiful Background Blur
A wide aperture (low f-stop number) will create a shallow depth of field, blurring the background and emphasizing your subject. This is ideal for portraits and close-up shots.
Achieving Front-to-Back Sharpness
A narrow aperture (high f-stop number) will ensure that more of your image is in focus, from front to back. This is useful for landscape photography and group shots.
Shutter Speed: Freezing or Blurring Motion
Shutter speed refers to the length of time your camera’s shutter is open, measured in seconds or fractions of a second. Faster shutter speeds are used to freeze motion, while slower speeds create motion blur.
Capturing Action Shots
For action shots, use a fast shutter speed (at least 1/500th of a second) to capture the moment crisply.
Creative Motion Blur Techniques
Slower shutter speeds can be used creatively to convey motion, such as blurring water or traffic.
ISO: Balancing Light Sensitivity and Noise
ISO measures your camera’s sensitivity to light. Lower ISOs are best for bright conditions, while higher ISOs are used in low light. However, high ISOs can introduce noise into your images.
Low-Light Photography Strategies
When shooting in low light, try to balance your ISO with your aperture and shutter speed to achieve the best exposure. Using a tripod can help stabilize your camera for sharper images at higher ISOs.
| Element | Function | Creative Control |
|---|---|---|
| Aperture | Controls depth of field | Background blur or front-to-back sharpness |
| Shutter Speed | Freezes or blurs motion | Action shots or creative motion blur |
| ISO | Balances light sensitivity and noise | Low-light photography strategies |
Composition Techniques That Transform Your Photos
Composition is the backbone of photography, transforming ordinary scenes into extraordinary images. By applying a few key photography practice techniques, you can significantly enhance the quality and impact of your photos.
Rule of Thirds and When to Break It
The rule of thirds is a fundamental composition technique that involves dividing your image into thirds both horizontally and vertically, placing important elements along these lines. This technique helps create balanced and visually appealing compositions. However, knowing when to break this rule is just as important, as it allows for more creative freedom and unexpected outcomes.
Leading Lines and Visual Flow
Leading lines are another powerful composition tool that guides the viewer’s eye through the image, creating a visual flow. These lines can be found in various forms, such as roads, shorelines, or any continuous feature that leads to the subject. Effective use of leading lines can add depth and interest to your photos, offering quick photography tips for more engaging compositions.
Framing and Perspective Choices
Framing involves using elements within the scene to frame your subject, which can help isolate it from the background and add context. Perspective choices, such as shooting from low or high angles, can also dramatically change the perception of your subject. Experimenting with different framing and perspective techniques can add variety to your photography.
Working with Foreground Elements
Incorporating foreground elements into your composition can add depth and interest. This could be anything from flowers to rocks, depending on the scene. By carefully selecting and positioning these elements, you can create a more engaging and layered image.
Creative Angles That Stand Out
Don’t be afraid to experiment with unusual angles and perspectives. Shooting from above, below, or at an angle can add a creative twist to your photos. These unconventional viewpoints can make your images stand out and capture the viewer’s attention, providing a valuable photography practice technique.
Lighting Fundamentals for Dramatic Improvement
To elevate your photography, it’s vital to grasp the basics of lighting. Lighting can dramatically enhance the quality of your photos, turning ordinary scenes into extraordinary ones.
Natural Light: Golden Hour and Blue Hour
Natural light, especially during the golden hour and blue hour, offers soft, warm, and cool tones that can significantly enhance your photos. The golden hour, just before sunset, and the blue hour, just after sunset, provide unique lighting conditions that can add depth and character to your images.
Planning Shoots Around Optimal Light
Planning your shoots around these times can make a significant difference in the quality of your photos. Understanding when and where to capture these moments is crucial for improving photography skills.
Understanding Light Direction and Quality
The direction and quality of light can greatly affect your photographs. Front lighting can flatten features, while side lighting can add depth and dimension. Understanding these aspects helps you use light to your advantage.
Simple Lighting Setups Anyone Can Master
Simple lighting setups can greatly improve your photography. Techniques such as using window light for portraits and reflectors to bounce light can be mastered by anyone.
Window Light Portraits
Using window light for portraits can create soft, natural-looking images. Positioning your subject near a window can provide a beautiful, diffused light that enhances their features.
Using Reflectors Effectively
Reflectors can be used to bounce light onto your subject, reducing shadows and adding depth to your photos. This simple technique can make a significant difference in the quality of your images.
- Plan your shoots around the golden hour and blue hour for optimal natural light.
- Understand the direction and quality of light to use it to your advantage.
- Master simple lighting setups like window light portraits and using reflectors.
By mastering these lighting fundamentals, you can significantly improve your photography skills and capture stunning images.
Practical Exercises for Improving Photography Skills
Photography skills can be significantly enhanced through dedicated practice and by adopting a variety of shooting techniques. Regular practice not only hones your technical skills but also develops your creative eye.
The 365 Project: One Photo Every Day
The 365 project is a challenge where you commit to taking at least one photo every day for a year. This exercise encourages you to observe your surroundings more closely and experiment with different themes and techniques. It’s an excellent way to develop a consistent photography habit and can lead to significant improvements in your skills over time.
Weekly Technical Challenges
Engaging in weekly technical challenges is another effective way to improve your photography skills. These challenges can be tailored to specific camera settings or techniques, such as mastering a particular aperture setting or experimenting with different shutter speeds.
Mastering One Setting at a Time
Focus on one camera setting at a time, such as aperture or ISO, and practice using it in various contexts. This helps in understanding the setting’s impact on your photos and builds confidence in using it effectively.
Subject-Specific Exercises
Practice photographing different subjects, such as landscapes, portraits, or street scenes. Each subject type presents unique challenges and opportunities to learn and grow as a photographer. For instance, you can try out different lighting setups for portrait photography.
Analyzing Your Own Work Critically
Critically analyzing your own photographs is a crucial step in improving your skills. By examining your photos, you can identify areas for improvement and track your progress over time.
Creating Before/After Comparisons
One effective method of self-analysis is to create before-and-after comparisons. This involves editing a photo and then comparing the original with the edited version. It helps in understanding the impact of different editing techniques and can guide your post-processing decisions in the future.
Some key exercises to try include:
- Photographing the same scene under different lighting conditions
- Experimenting with various composition techniques, such as the rule of thirds or leading lines
- Capturing a series of photos that tell a story or convey a message
By incorporating these practical exercises into your photography routine, you’ll see significant improvements in your skills over time.
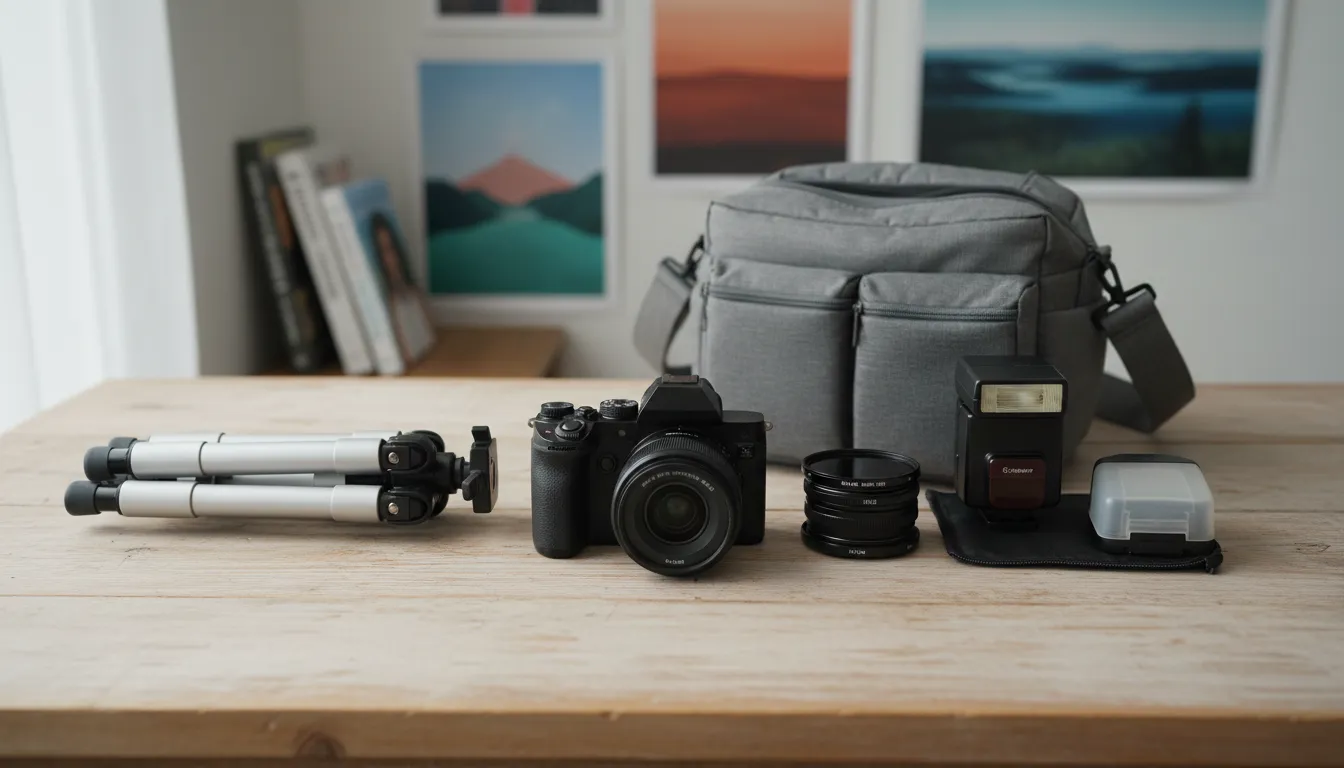
Essential Equipment That Won’t Break the Bank
You don’t need the latest equipment to take stunning photos. While having advanced gear can be tempting, there are many affordable options that can significantly improve your photography.
Beyond the Kit Lens: Affordable Upgrades
One of the most effective ways to enhance your photography is by upgrading your lens. The kit lens that comes with your camera is a good starting point, but it has its limitations. Consider investing in a prime lens, such as the “nifty fifty,” which can greatly improve image quality. For more information on gear for specific types of photography, you can visit Digital Photography School for valuable insights.
The Nifty Fifty: Why Every Photographer Needs One
The “nifty fifty” refers to a 50mm prime lens, known for its versatility and image quality. It’s called “nifty” because it’s often compact and lightweight, making it an excellent addition to your photography kit. This lens is great for portraits, street photography, and even landscapes. It encourages you to simplify your composition and focus on your subject.
Accessories That Make a Real Difference
Beyond lenses, there are several accessories that can enhance your photography. Two of the most useful are tripods and filters.
Tripods and Stability Tools
A tripod is essential for achieving sharp images, especially in low light conditions. It allows you to use slower shutter speeds without worrying about camera shake. There are many affordable tripods available, so you don’t have to spend a fortune.
Filters for In-Camera Effects
Filters can add creative effects to your photos without the need for post-processing. For example, a polarizing filter can reduce glare and enhance colors, while a neutral density filter can help you achieve a shallow depth of field or create motion blur.
Some key accessories to consider include:
- A sturdy tripod for stability
- Polarizing and neutral density filters for creative effects
- A remote shutter release or camera timer for minimizing camera shake
 By investing in these affordable upgrades and accessories, you can significantly improve your photography skills without breaking the bank. Remember, the key to great photography is understanding your equipment and practicing regularly.
Post-Processing Techniques for Beginners
For those new to photography, learning basic post-processing techniques is essential. Post-processing is where you can enhance and refine your images, making them more visually appealing. It’s a crucial step in improving photography skills, allowing you to correct mistakes and bring out the best in your photos.
Free and Low-Cost Editing Software
One of the barriers to entry for post-processing used to be the cost of editing software. However, there are now many free and low-cost options available that offer powerful tools. For instance, Adobe Lightroom Classic is a popular choice among photographers, offering advanced features for managing and editing your photos.
Basic Adjustments That Transform Images
Basic adjustments can make a significant difference in the quality of your photos. Two key areas to focus on are exposure and contrast corrections, as well as color grading fundamentals.
Exposure and Contrast Corrections
Adjusting exposure and contrast can help balance the light in your images, making them more pleasing to the eye. It’s about finding the right balance to enhance details without overdoing it.
Color Grading Fundamentals
Color grading involves adjusting the colors in your image to create a specific mood or atmosphere. Understanding how to use color grading can help you achieve a consistent look across your photography portfolio.
Developing Your Personal Editing Style
As you become more comfortable with post-processing techniques, you’ll start to develop your own editing style. This involves experimenting with different adjustments and techniques to find what works best for you. It’s a process that requires patience and photography practice techniques, but it’s key to standing out as a photographer.
Common Photography Mistakes and How to Fix Them
Improving your photography skills involves recognizing and correcting common errors. Even experienced photographers can fall into traps that detract from their images. By understanding these mistakes and how to fix them, you can significantly improve the quality of your photos.
Focus and Sharpness Issues
One of the most frustrating problems in photography is dealing with out-of-focus or blurry images. Understanding your camera’s autofocus capabilities and using techniques like focus peaking can greatly improve the sharpness of your photos. Focus peaking highlights the areas in focus, allowing you to adjust your composition accordingly.
Exposure Problems and Solutions
Exposure issues can dramatically affect the outcome of your photos. Mastering the exposure triangle (aperture, shutter speed, and ISO) is key to achieving the desired exposure. Using tools like histograms can also help you adjust your camera settings to capture the perfect shot.
Composition Pitfalls to Avoid
Composition is a critical aspect of photography that can make or break an image. Two common composition mistakes include cluttered backgrounds and horizon line problems.
Cluttered Backgrounds
A cluttered background can distract from the main subject of your photo. To avoid this, take the time to compose your shot carefully and consider using a shallow depth of field to blur the background.
Horizon Line Problems
A tilted horizon line can give your photos an unprofessional look. Pay attention to the horizon and use your camera’s grid feature or level to ensure it’s straight.
| Mistake | Solution |
|---|---|
| Out-of-focus images | Use focus peaking and understand your camera’s autofocus |
| Cluttered backgrounds | Compose carefully and use a shallow depth of field |
| Tilted horizon lines | Use grid feature or level on your camera |
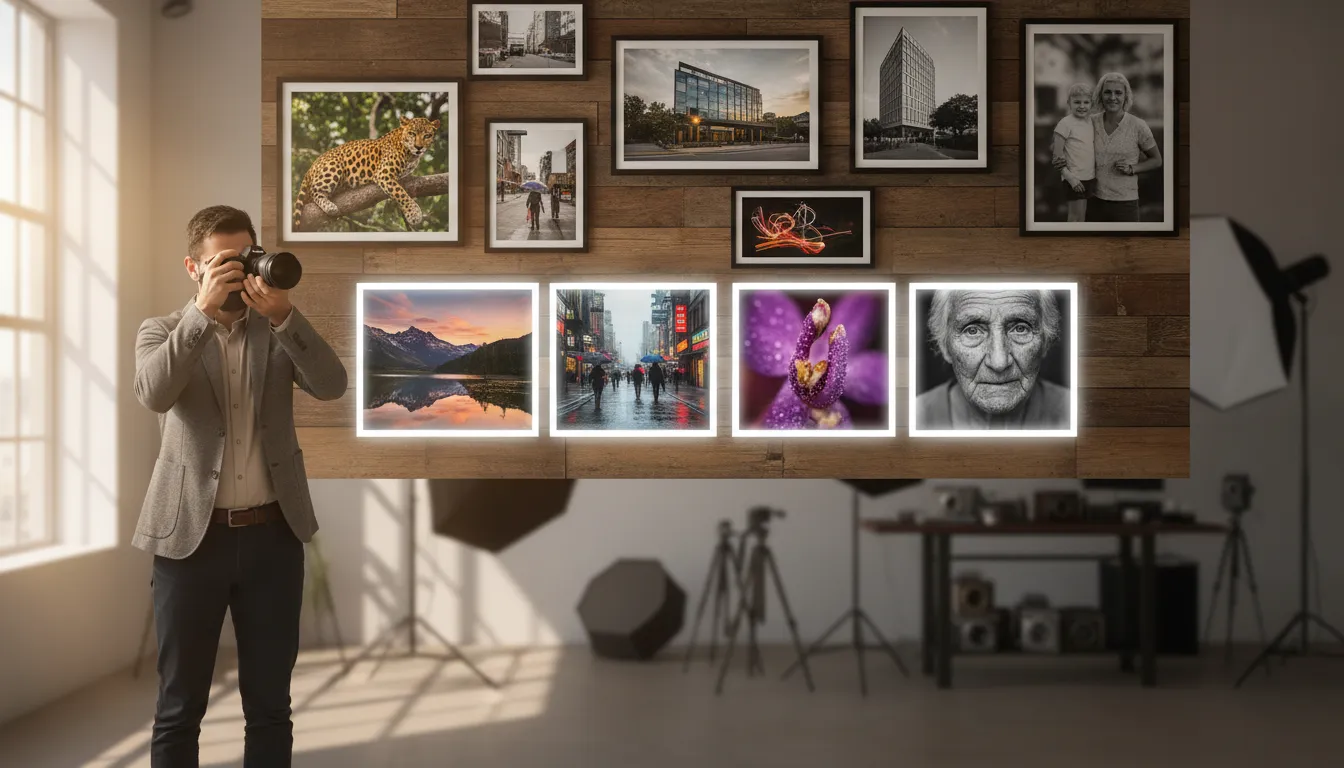
Genre-Specific Tips to Elevate Your Work
Photography is a diverse art form, and mastering different genres can significantly enhance your skills. Whether you’re capturing the grandeur of landscapes, the intimacy of portraits, the spontaneity of street scenes, or the minute details of macro photography, each genre has its unique challenges and techniques.
Landscape Photography Essentials
Landscape photography is about capturing the beauty of nature. One crucial technique is using filters to achieve dramatic skies. Neutral density (ND) filters can help balance the exposure between the sky and the land, while graduated ND filters can darken the sky to bring out details in both the sky and the landscape.
Using Filters for Dramatic Skies
Filters are essential tools for landscape photographers. By using ND filters, you can create a more balanced exposure, ensuring that both the sky and the land are well-exposed. This technique is particularly useful during sunrise or sunset when the contrast between the sky and the land is high.
Portrait Photography Techniques
Portrait photography focuses on capturing the personality and mood of a person. Mastering posing guidelines is crucial for achieving natural results. Directing your subject with gentle guidance can help them feel more comfortable and relaxed, leading to more authentic photographs.
Posing Guidelines for Natural Results
To achieve natural poses, encourage your subject to relax. Simple adjustments, such as shifting weight or slightly turning the face, can make a significant difference. “The key is to make the pose feel natural and effortless,” says a renowned photographer on Imagely.
Street Photography Approaches
Street photography is all about capturing decisive moments. It requires a keen eye and quick reflexes to freeze the action at the right moment. Being observant and anticipating events can significantly improve your street photography skills.
Capturing Decisive Moments
The essence of street photography lies in capturing moments that tell a story. Being patient and ready to shoot at a moment’s notice is crucial. As Henri Cartier-Bresson once said,
“Photography is not like painting. In painting, you can compose the subject and the background. In photography, you must wait for the subject to present itself to the background.”
Macro Photography Basics
Macro photography involves capturing extreme close-ups of small objects, revealing details that are not visible to the naked eye. Understanding focus stacking is essential for achieving extreme detail in your macro photographs.
Focus Stacking for Extreme Detail
Focus stacking involves taking multiple shots at different focus points and then combining them into a single image. This technique ensures that the entire subject is in sharp focus, even when working with a very shallow depth of field.
Learning Resources Worth Your Time
The journey to becoming a skilled photographer involves leveraging a range of educational materials and communities. With the wealth of information available, you can significantly improve your photography skills by accessing the right resources.
Photography Books That Actually Help
Photography books offer in-depth knowledge and inspiration. They provide a comprehensive understanding of various techniques and styles. Some highly recommended books include “Understanding Exposure” by Bryan Peterson and “The Art of Photography” by Bruce Barnbaum. These books are invaluable for both beginners and seasoned photographers looking to refine their craft.
Online Courses and YouTube Channels
Online courses and YouTube channels are excellent for structured learning. Platforms like Udemy, Coursera, and Skillshare offer a wide range of courses. YouTube channels such as Peter McKinnon and Scott Kelby provide tutorials and insights that can enhance your photography skills. These resources are convenient and often free or low-cost.
Photography Communities for Feedback
Joining photography communities can provide valuable feedback and support. Websites like 500px and Flickr have active communities where you can share your work. Participating in photography contests and challenges can also help you grow as a photographer.
Constructive Critique Groups
Look for constructive critique groups within these communities. Receiving helpful feedback is crucial for improving your photography. Engaging with others’ work and providing feedback can also enhance your critical eye.
Finding Inspiration and Developing Your Eye
The art of photography is deeply rooted in observation, patience, and the ability to see beyond the ordinary. To become a skilled photographer, one must continually seek inspiration and develop their photographic eye.
Studying Master Photographers
One of the most effective ways to improve your photography skills is by studying the work of master photographers. Analyze their composition, lighting, and technique to understand what makes their images compelling.
Analyzing Composition in Famous Images
Look closely at how master photographers use composition to tell a story or evoke emotion. For instance, consider the use of leading lines, framing, and symmetry in their work. Understanding these elements can significantly enhance your own photography practice.
Cross-Disciplinary Inspiration Sources
Inspiration for photography can come from various art forms, including painting and cinema. These mediums can influence your photography style and help you develop a unique vision.
How Painting and Cinema Influence Photography
Painting teaches us about composition, color, and light, while cinema shows us how to tell stories through movement and sequence. By studying these art forms, you can gain new insights into your photography, such as experimenting with different lighting setups or narrative techniques.
| Art Form | Influence on Photography | Key Elements |
|---|---|---|
| Painting | Composition, Color Palette | Light, Shadow, Texture |
| Cinema | Storytelling, Movement | Narrative, Framing, Pacing |
| Photography | Capturing Moments, Visual Storytelling | Composition, Lighting, Focus |
Advanced Techniques to Try Next
As you continue to hone your photography skills, it’s essential to explore advanced techniques that can elevate your work. These methods not only enhance your creative expression but also contribute significantly to improving photography skills. By incorporating these advanced techniques into your practice, you’ll be able to produce more sophisticated and engaging photographs.
Long Exposure Photography
Long exposure photography is a technique that involves keeping the camera’s shutter open for an extended period, creating unique effects such as blurred clouds or silky water. This technique is particularly useful for capturing scenes with motion, like waterfalls or cityscapes at night.
Waterfall and Water Motion Effects
One of the most striking applications of long exposure is capturing the smooth, flowing motion of water. By using slower shutter speeds, you can transform a chaotic waterfall into a serene, misty veil, adding a touch of magic to your landscape photography.
Multiple Exposure and Compositing
Multiple exposure and compositing involve combining multiple images into a single photograph. This technique allows for creative freedom, enabling you to merge different elements or scenes into a cohesive image. It’s a powerful tool for storytelling and can add depth and complexity to your photographs.
Off-Camera Flash Techniques
Off-camera flash techniques can dramatically improve the lighting in your photographs, adding depth and dimension. By positioning your flash away from the camera, you can create more dynamic lighting setups that enhance your subject.
Creating Dramatic Lighting
Using off-camera flash, you can achieve dramatic lighting effects that draw attention to your subject. This technique is particularly useful in portrait photography, where it can be used to create deep shadows and highlights, adding a professional touch to your images.
Experimenting with these best photography exercises will not only challenge you but also significantly enhance your photography skills. By mastering long exposure, multiple exposure, and off-camera flash, you’ll be able to add new dimensions to your photography, making your work stand out.
Conclusion
Improving your photography skills is a continuous process that involves practice, patience, and persistence. By understanding your camera, mastering fundamental techniques, and exploring advanced methods, you can significantly enhance your photography. Regular photography practice techniques will help you develop your unique style and voice.
To accelerate your progress, incorporate the best photography exercises into your routine, such as the 365 project or weekly technical challenges. These quick photography tips will help you stay focused and motivated. As you continue to practice and learn, you’ll become more comfortable with your equipment and more confident in your abilities.
Remember, the key to improving your photography skills is consistent practice and a willingness to learn and adapt. By staying inspired by the work of others and seeking feedback, you can continue to grow and refine your craft. With dedication and the right approach, you can achieve your photography goals and enjoy the journey of mastering this creative art form.
FAQ
What are some effective ways to improve my photography skills quickly?
Improving your photography skills quickly requires a combination of understanding your camera, mastering fundamental techniques, and practicing regularly. Try techniques like the 365 project, weekly technical challenges, and analyzing your own work critically to enhance your skills.### How can I improve my composition skills in photography?
Composition is a vital aspect of photography. Techniques like the rule of thirds, leading lines, and framing can significantly enhance your photos. Experimenting with different composition techniques can help you develop your unique style.### What are some common photography mistakes and how can I avoid them?
Common photography mistakes include focus and sharpness issues, exposure problems, and composition pitfalls like cluttered backgrounds and horizon line problems. Mastering your camera’s autofocus, understanding the exposure triangle, and being mindful of your surroundings can help you avoid these mistakes.### What are some affordable equipment upgrades that can improve my photography?
Upgrading beyond the kit lens, such as investing in a prime lens, can enhance image quality. Accessories like tripods and stability tools can help you achieve sharper images, especially in low light. Filters can also be used to create in-camera effects, adding another layer of creativity to your photography.### How can I improve my post-processing skills in photography?
Post-processing is an essential step in the photography workflow. Basic adjustments like exposure and contrast corrections can significantly improve your images. Understanding color grading fundamentals can help you achieve a consistent look across your photos. Practicing with free and low-cost editing software can also help you develop your skills.### What are some advanced photography techniques I can try?
Advanced techniques like long exposure photography, multiple exposure and compositing, and off-camera flash techniques can help you push the boundaries of your photography. Experimenting with these techniques can help you achieve more sophisticated results and enhance your photography skills.### How can I find inspiration and develop my photography style?
Finding inspiration and developing your eye are crucial aspects of becoming a skilled photographer. Studying the work of master photographers, analyzing famous images, and drawing inspiration from other art forms like painting and cinema can broaden your perspective and influence your photography style.### What are some effective photography practice techniques?
Techniques like the 365 project, weekly technical challenges, and analyzing your own work critically can help you develop a consistent habit and improve your photography skills. Practicing regularly and experimenting with different techniques can also help you enhance your skills.